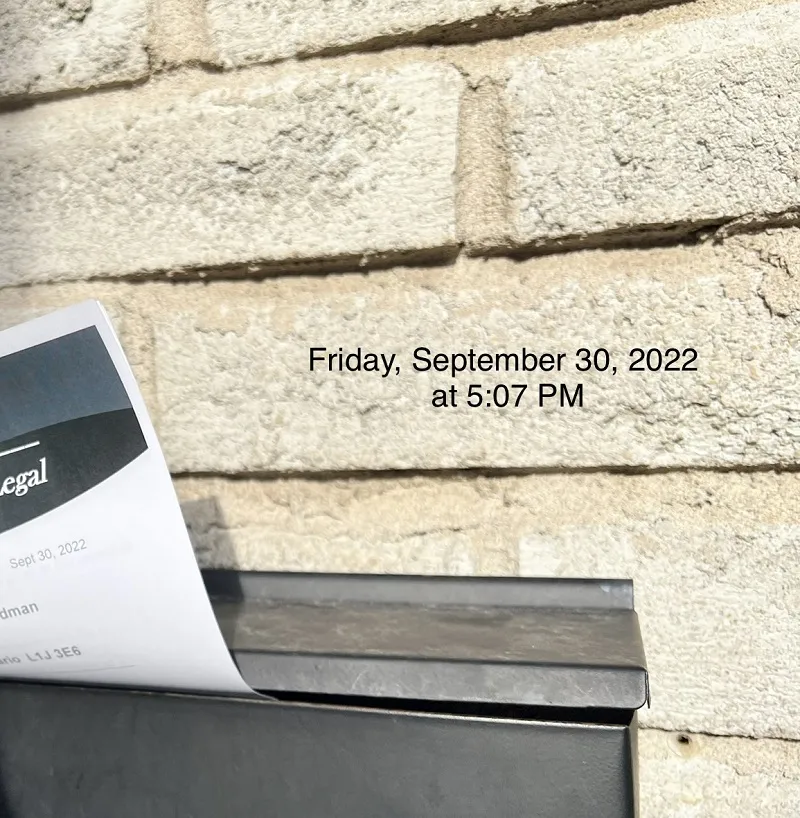
These instructions are for iPhone users. While similar features may exist on Android, this article doesn’t cover that (yet). Also, this article isn’t going to tell you to download some “free” app that will end up pushing advertisements at you and forcing watermarks on your photos. No, I’m going to show you how to do all this with just your iPhone. Also, this covers the latest version of iOS at the time of publication iOS 16. Older versions of iOS may be slightly different.
#1 – Open the Photos app on iOS and tap to open the photo you want to stamp.
#2 – Tap and drag the photo up on your screen (you can also tap on the “i” at the bottom of the screen). You’ll see details about the photo show below the image.
#3 – Tap and hold down on the Date and Time. You’ll see a pop-up that says “Copy Date & Time” – tap on that.
#4 – Return to your image and tap on “Edit” on the top-right corner of the image
#5 – In the edit interface, click on the “Markup” icon. It’s a circle with a small pencil inside.
#6 – In the Markup screen, click the plus on the far right and add text. The text colour is controlled by the small circle just to the left of the plus. Make sure to contrast the colour with what in the background of the image. For example: Black text on a light brick wall.
#7 – The default selected characters will spell out “text,” double tap this text and chose “paste” to paste in the date you copied in step #3
#8 – Given the length of a date and time, the size of the text will likely not fit. With the text selected, there is a small circle icon with an “aA” that will let you change the font size and other elements. You can also edit the date text, press enter and put the date on two lines.
And there you have it, every image you create with your phone, the date and time you took it can be placed on the image for better and clearer evidence. These steps don’t require an app, special tools or even an Internet connection.
If you found this tip useful, let us know and we’ll provide more tips on how to use technology to your advantage.
